 Tweet
Tweet
Whew, so I finally finished this project after putting it off for months. In total, about a week's work off and on.
I started with the Linea jumpsuit purchased at Century 21 (which I cut a zipup jacket out of and installed a front zipper onto (a pain in the ass since the front placket was reinforced at evenly spaced points along the flap which I had to redo and the hidden napoleon pocket was in between the placket and the zipper so I had about 4 layers to stitch to the zipper which essentially lifted off the jacket for the pocket.)) and then removed the bottom half.
For all intensive purposes I had the barest semblance of pants. Essentially two legs. No hem, no fly. Nothing.
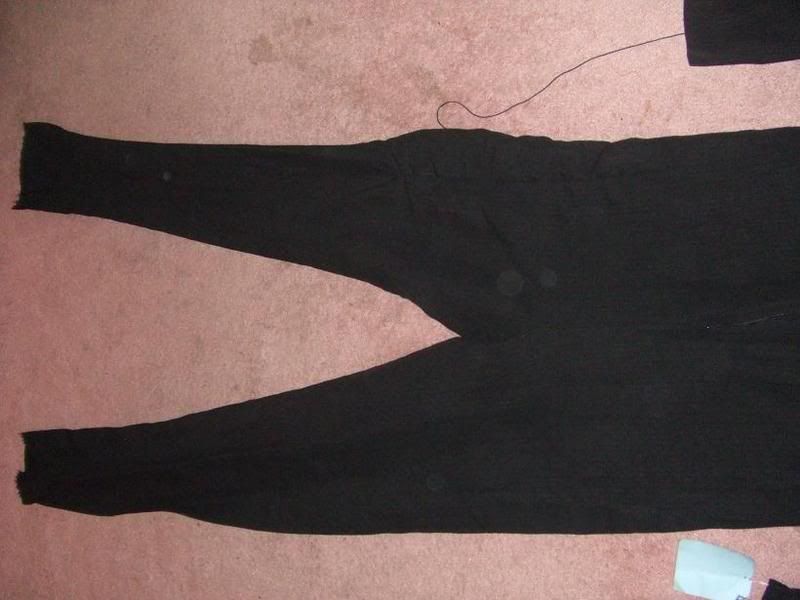
The jumpsuit:

The top was turned into this:

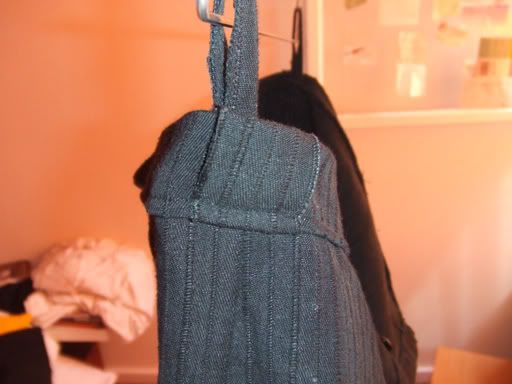
...and the bottom half into this:
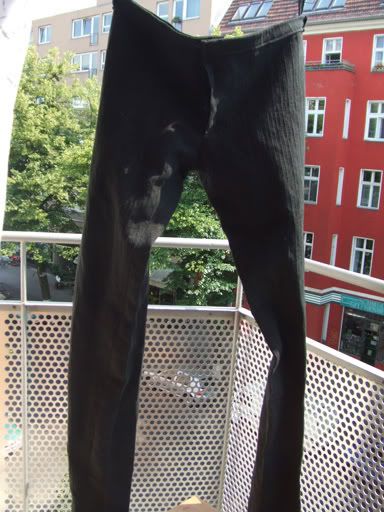
Just a quick outside photo.... sorry about the bad shot
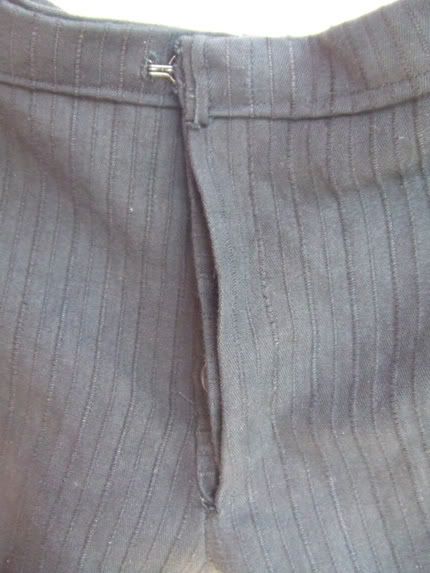
The front, closed (3 button fly with hook-eye closure at the waist)

All seen here...
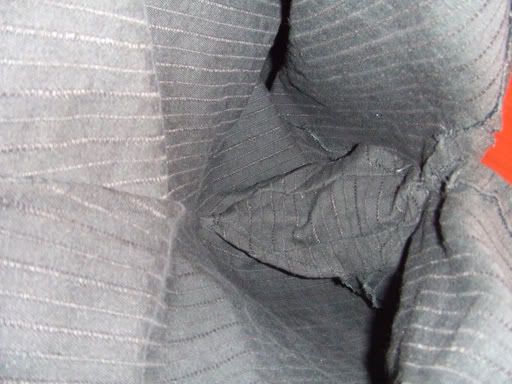
I added the "comfort patch" typically found in unlined pants. I promise it's more uniform and symmetricthan it looks like in this wrinkly photo hehehe [:P]
For the waistband I folded and tucked the top of the cut waist edge down to create a 3 cm hem. I reinforced the waist band with a second 2 cm thick single-fold strip that runs the entirety of the inner circumference. rectangular flaps like the one seen here are used to hide the center seat seam and the two side seams that would be apparent with this "fold down" waist band method.
I pinned a straight legged slim cut and with Linea pants' notoriously ridiculously long inseams these ruch up really nicely with boots. I also put in hanger loops hehehe.
I had a bit of an issue when it came to creating the hook/eye waistband closure a la MA+/Linea where you only see the hook and not the eye. I've not seein any of these pieces in person (well... at Atelier but I wasn't looking closely at that time) so I didn't know how those guys did it. My method was to install 3 eyes spaced 1 cm apart (hey... maybe i'll get fatter) under the front waistband flap and then cut and reinforce button-hole style slits over them so that it looks like the hook just hooks into the waistband itself and thus when closed, all you see is that nice little metal bar. I think it came out ok....
Pretty proud of this one... my first pair of pants ever made. I can absolutely truly appreciate how difficult it is to make something perfect, uniform and with lots of layers. I left a lot of raw edges on the interior as you may be able to see... but the Linea fabric doesn't fray readily so I'm confident it'll hold for quite some time. I'll be posting them worn in WAYWT soon (may wear them tonight with CCP black boots fresh from the cobbler and a white button up... free museum night here in Berlin tonight!)!
I managed to find two pretty good leather stores in Berlin and purchased a non-too-cheap calf leather hide. MA+ wallet and the MA+ waist/belt bag will hopefully come out of this. If there is leftover leather after these projects I may be able to make an MA+ wallet or so for interested parties to help cover the cost of the leather.
So the next 4 projects are:
CCP U shaped overlock pants in black denim w/white overlock
LMaltieri dual fabric (one stretchy one not) s/s and long sleeve black/dark gray shirts
MA+ wallet(s) (One for my girlfriend as she tends to misplace cards hehe)
MA+ triangular belt bag
The size of the sheets necessary for a full out massive MA+ accordion bag is immense! Compounded with the fact that most hides have at least 1 or two holes in them it's no wonder he charges the prices he does for the bags. Not only that, in either leather shop, I had a bit of a hard time finding any hides that were dual-side treated in the way that MA+ leather is... not even really any approximation could be found in anything short of belt-leather (from the neck of the cow) that is too thick for the bag. A true testament to the leather that Amadei chooses and uses.
Zamb, I'm really looking forward to your blog/guides on creating clothes. When making these items I was truly flying by the seat of my pants and basing it on photos/existing items and a bit of planning haha.


Comment