Hi !
Yes, I am still working on my Gareth Pugh jacket (I just started vacation, so I have more time for some projects now), but that's not my only project
As I was browsing the net, I found Ann Demeulemeester's corset belt from a few seasons back in a blog. When looking at it, I thought that this isn't *that* complicated to make, so I ordered some material and gave it a try.
I am not finished yet, but I have progressed so far (and this is sooo easy) that I did not only want to share it with you, but provide step by step instructions on how to make this belt on your own. If you have a friendly cobbler nearby, you do NOT even need a sewing machine.
Here we go.
1. Ann Demeulemeester's corset belt
******************************
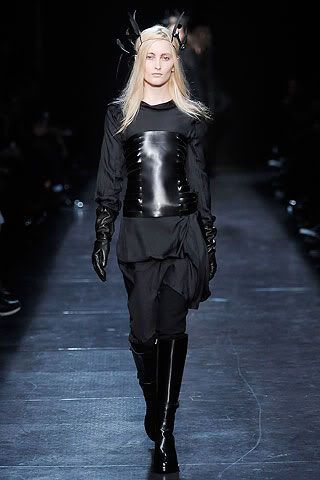
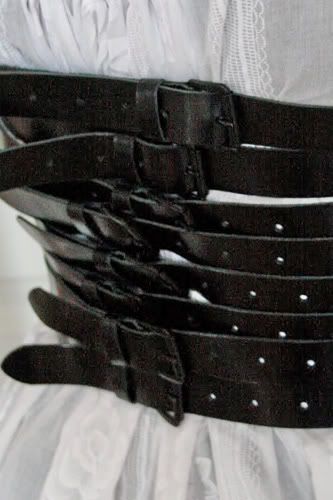
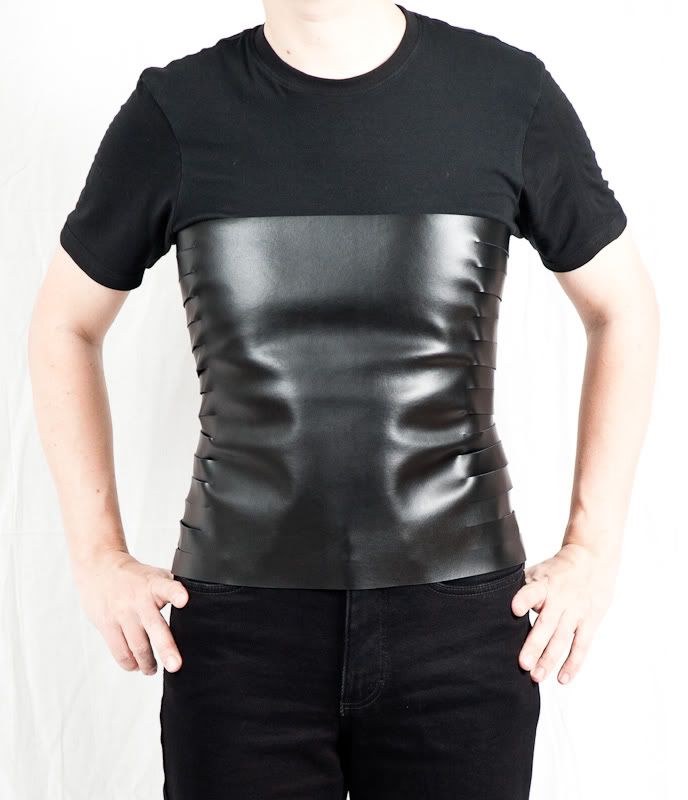
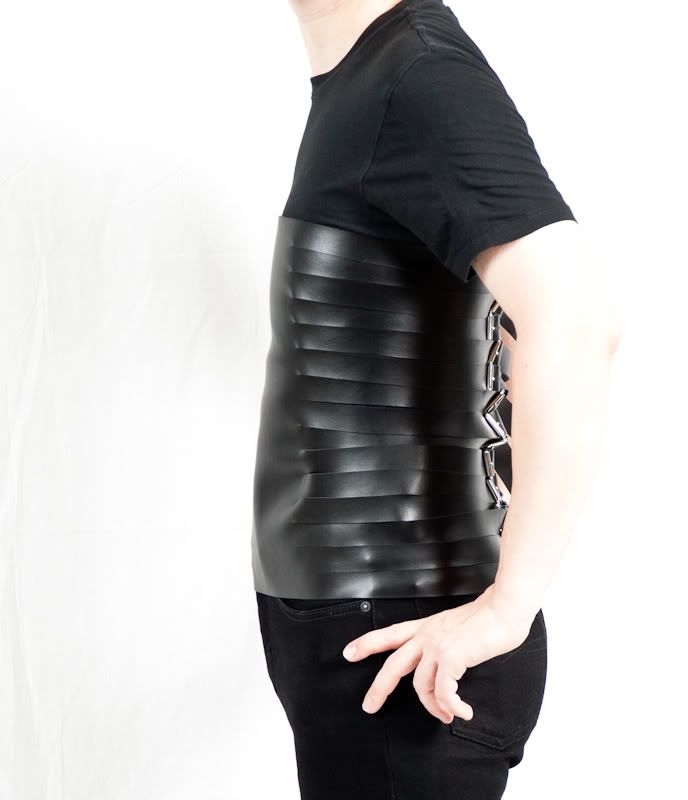
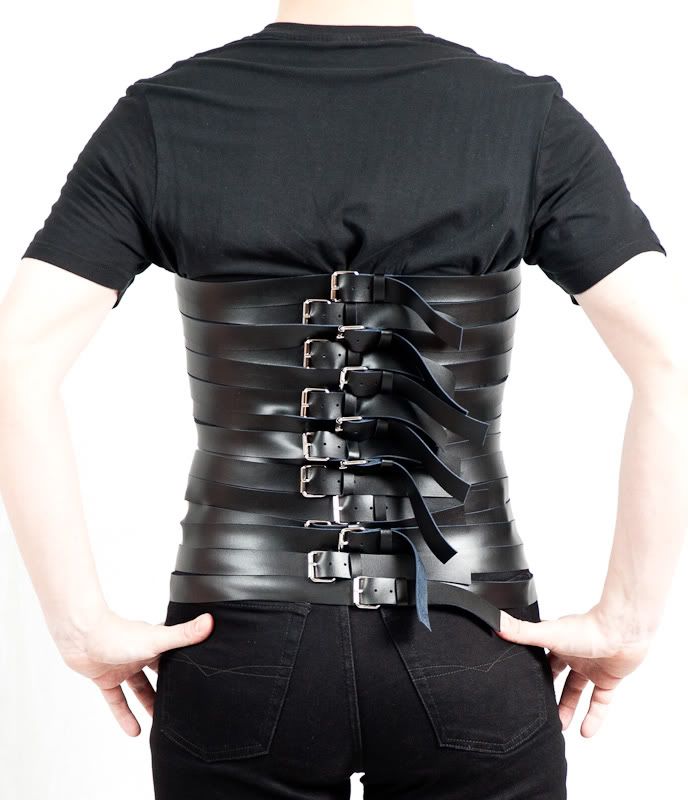
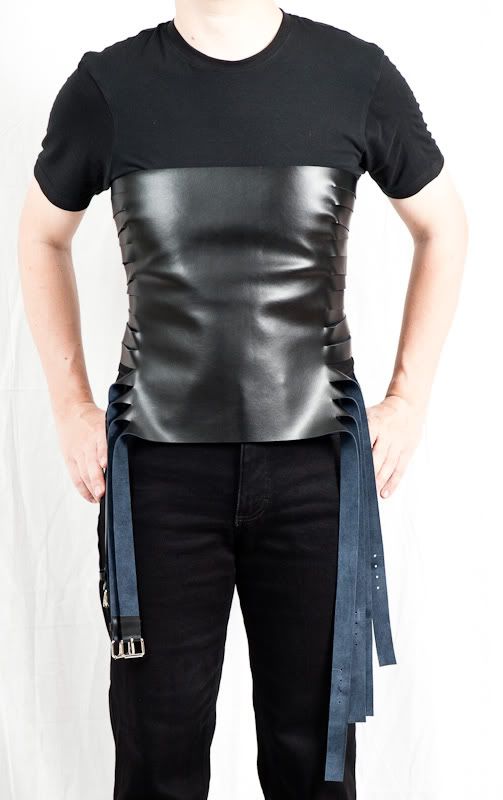
Ann Demeulemeester came up with a simple, yet quite interesting corset belt in her fall/winter 2009 collection:
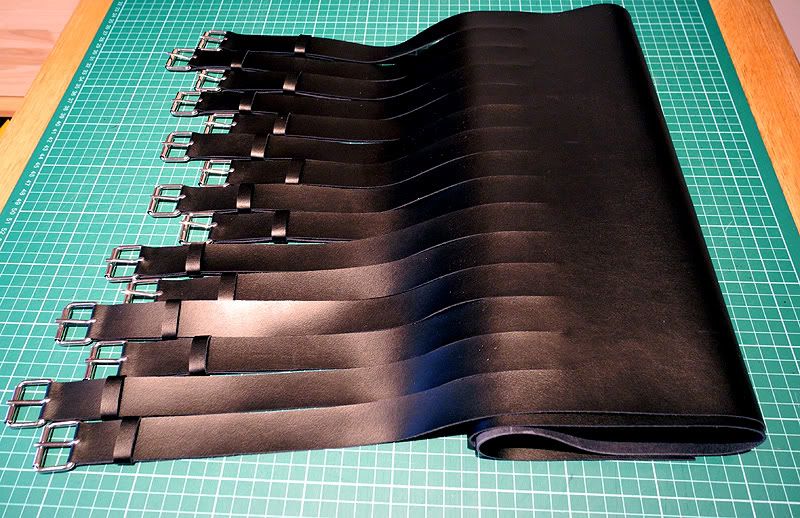
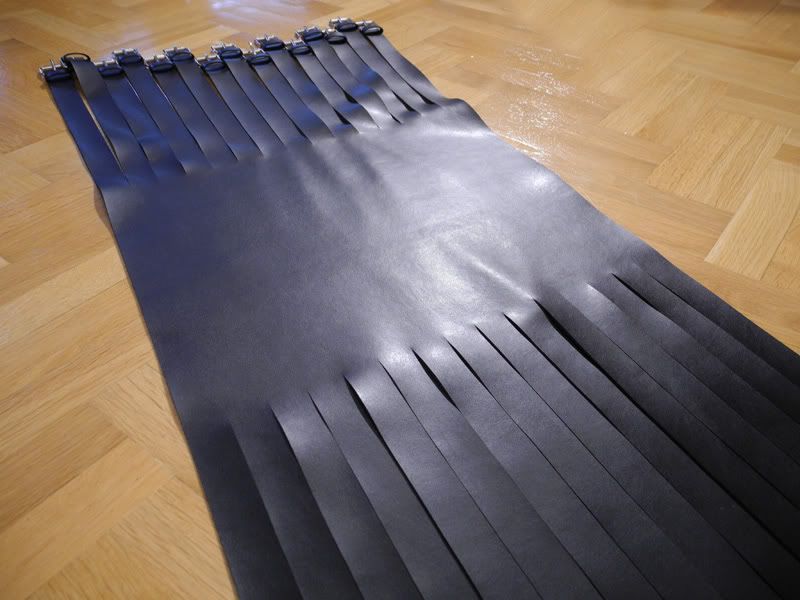
Spreading it on a flat surface, the belt looked like this:
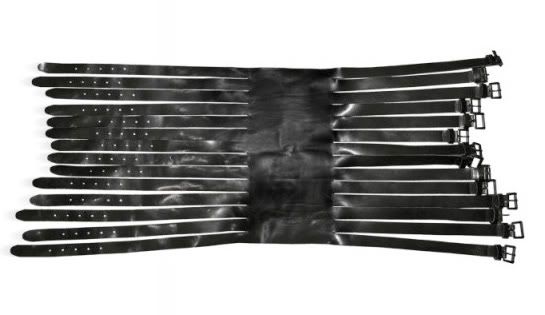
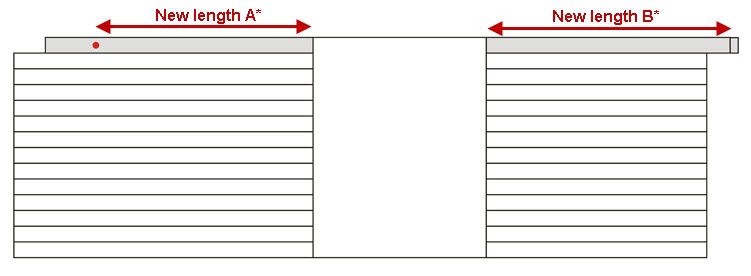
It's doesn't look that hard to make. It's basically some leather and buckles, cut in the right form and punched with a few holes.
It is not lined, the leather is not neatened at the cutting lines, it's very simple and basic. Yet this puristic style is what makes it interesting.
2. Materials required to make this corset
********************************
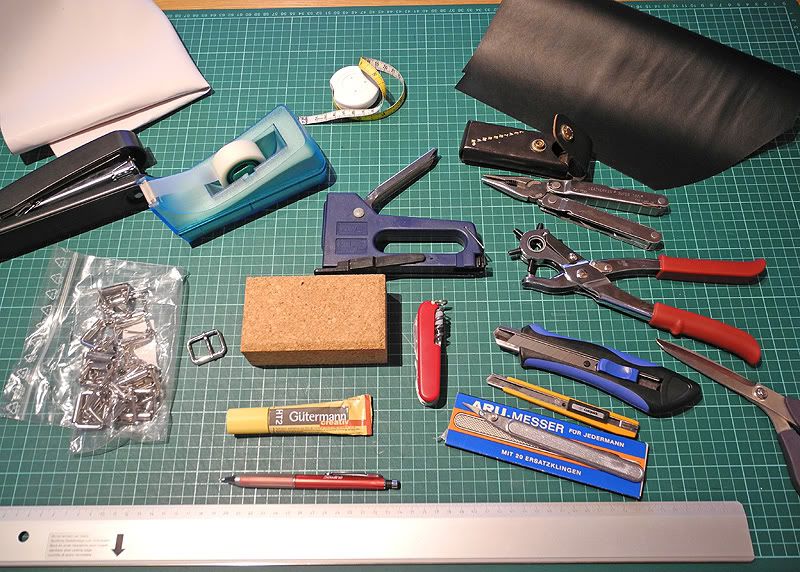
a) Fake leather (PVC, visible in white left upper corner)
I recommend to make a basic pattern of the corset first before cutting the (more expensive) leather, so you should get some cheap PVC-based fake-leather, non-stretchy. As fake leather is thicker than normal fabric, it gives you the best approximation of how the final product will feel (also important for taking measurements).
b) Real Leather (black, visible right upper corner)
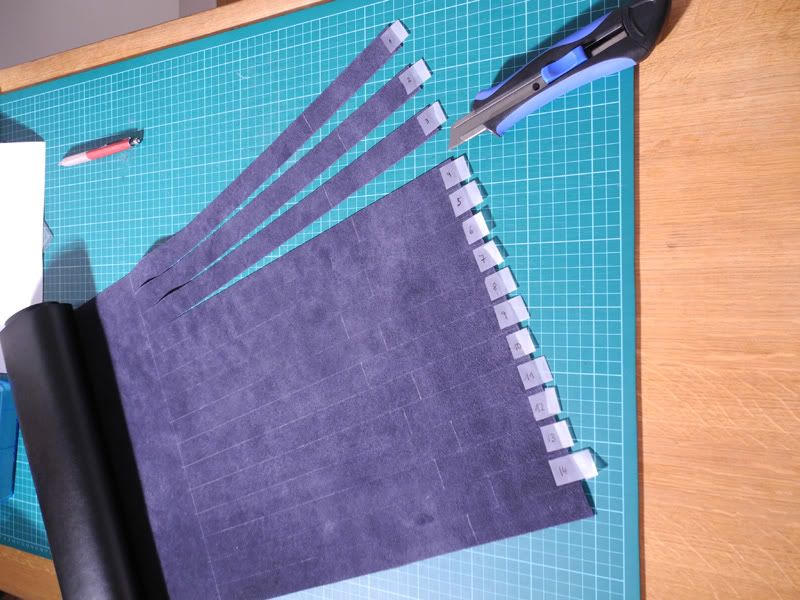
The leather I ordered is split leather with a PU (polyurethane) coating, which makes it more shiny, just like the original. The thickness should be at least 1.3 mm (0.05 inches). Mine is around 1.5 mm thickness, but I think 2 mm would also be fine. 3 mm would probably be too thick. The surface of the leather is completely smooth, without any visible grain.
I ordered my leather online at a German leather store. If you are ordering online too, ask them to send you some small leather samples first, as leather is quite expensive.
I ordered the smallest size - a douple butt ("croupon"), which was 1.63 square meters (17.54 ft) and cost around 80 Euros (114 USD). The material actually required was 0.48 square meters (5.16 ft).
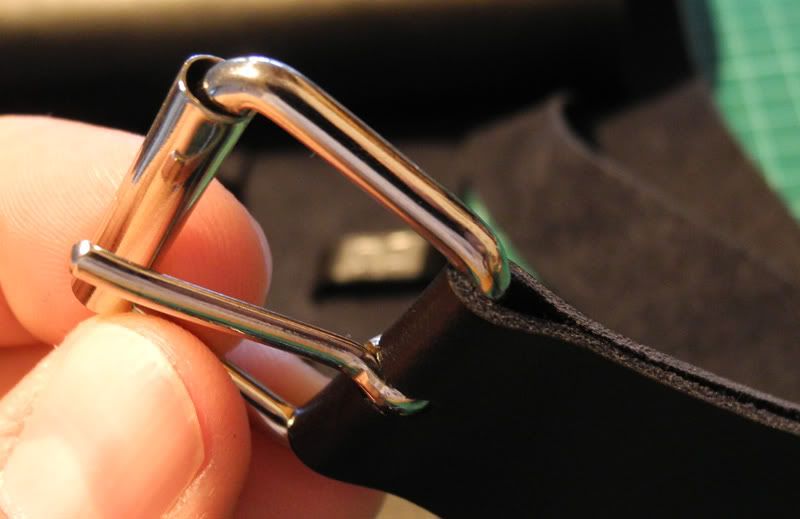
c) Roller buckles
Ann used black buckles on her corset, which I wasn't able to find (the only black ones I found in a store had already some rust on them, so I didn't want to use them).
You will probably be able to find nickle plated roller buckles more easily.
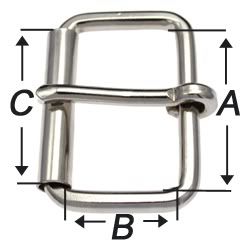
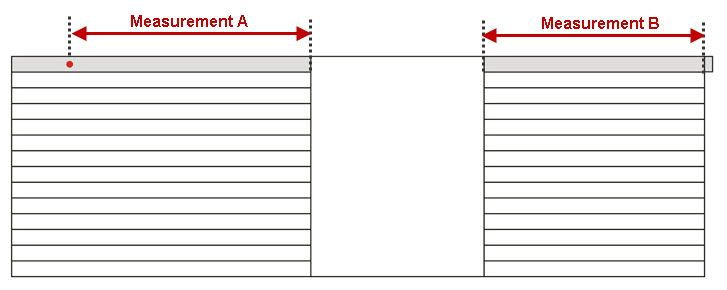
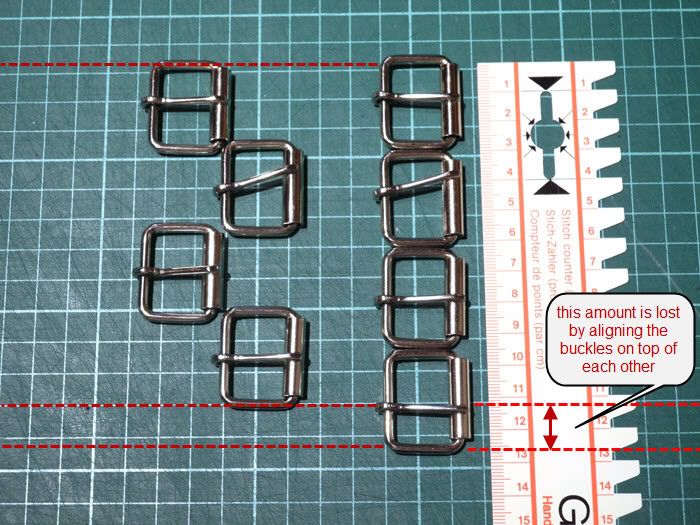
The size of the belt that goes through the buckle (dimension A) is about 1 inch (that's the original size of AnnD's belt - thanks to Pak who measured his belt and sent me the measurements). You can make the belt wider or smaller - up to you. Mine do have a 25 mm size A, which is 1 inch.
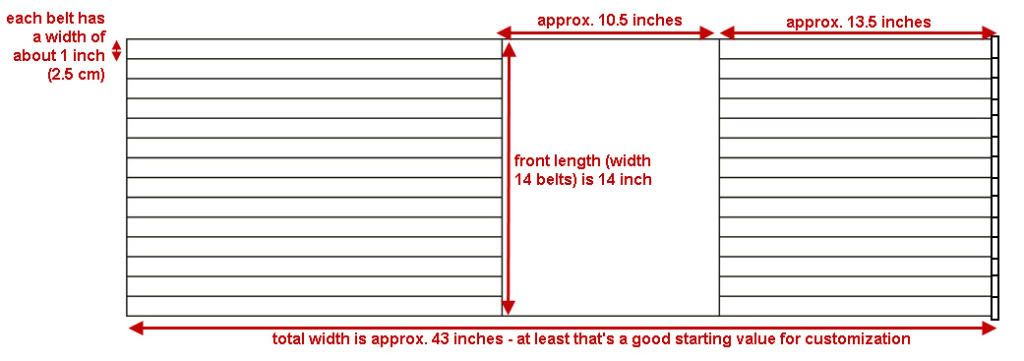
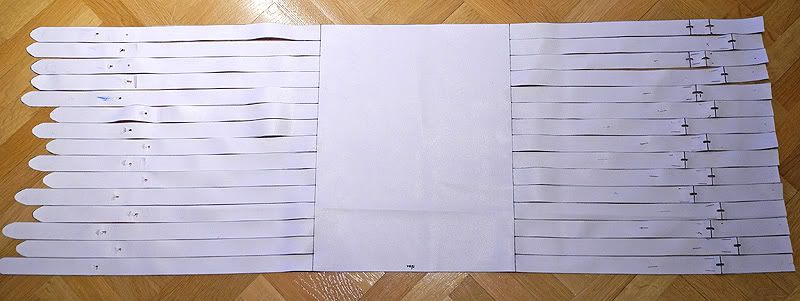
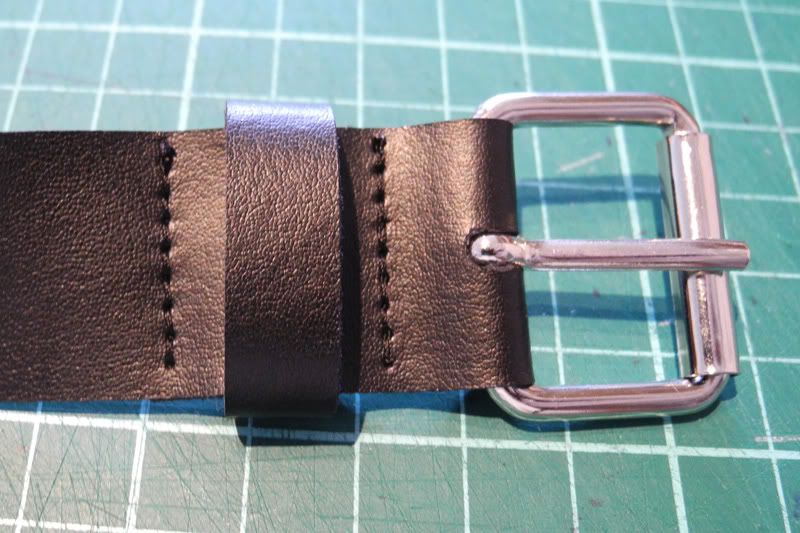
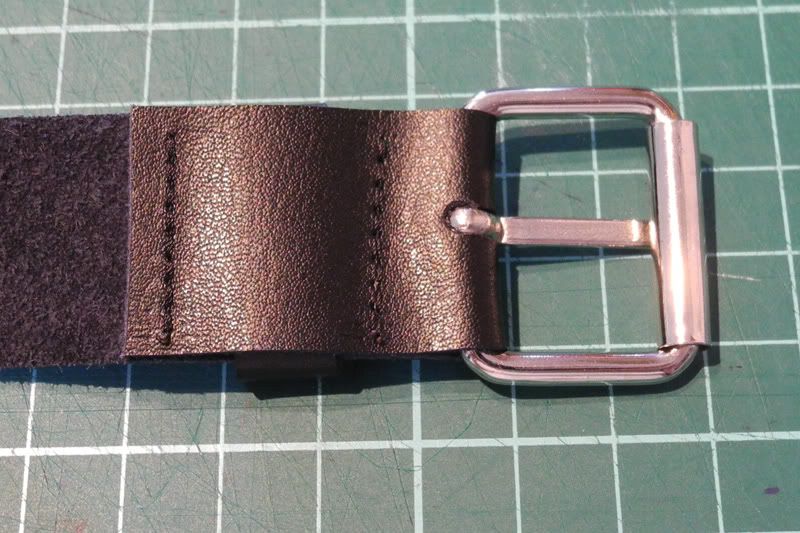
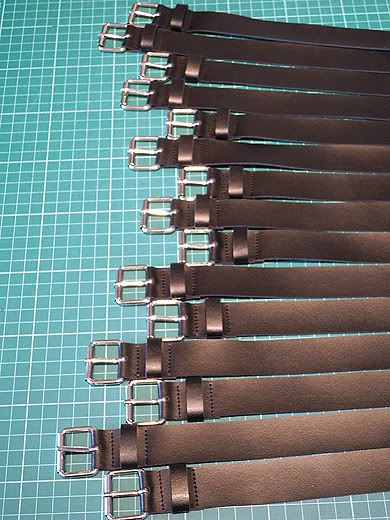
Depending on how tall the corset should be, you can decide how many belts your corset should have. AnnD's original has 14 belts, mine does have 15. Depending on how many belts you would like, you will need 14 or 15 buckles.
d) Ruler and measurement tape
A long metal ruler with an edge for cutting (lower edge of the picture) makes sense to be able to cut nice, straight lines. A tape ruler can be helpful for quick measurements but is not required.
e) Knifes / Leather cutters
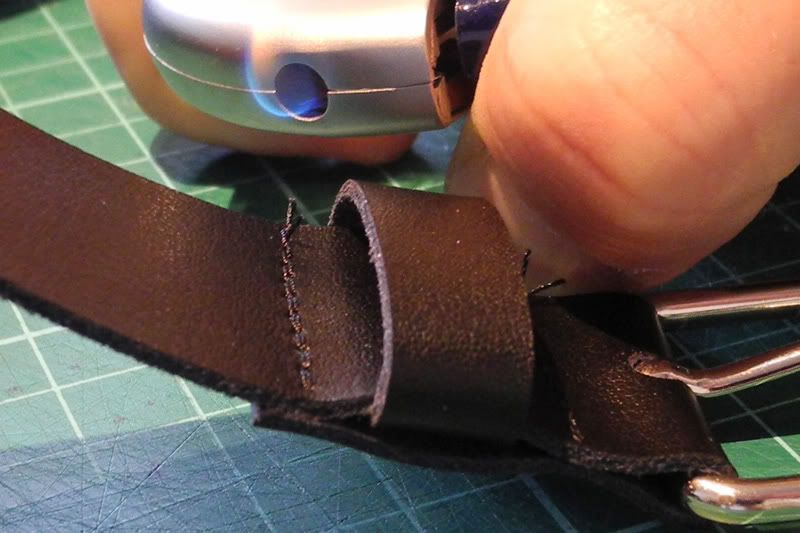
The Swiss army knife on the picture is actually not used for cutting (as you will see later), and you cannot use it to cut the leather.
I recommend getting either a special leather knife (like the "ARU Messer"), which is a special leather knife with exchangeable blades, or using a simple cutter with snap-off blades. There are even better alternatives for cutting leather, but those specialized leather knives are quite expensive (> 40 USD). A simple cutter will suffice for this project, as long as the leather isn't too thick.
f) Optional: Scissors
A household scissor will do. If you don't want to cut the fake leather with a knife, a scissor might be helpful.
g) Hole punch
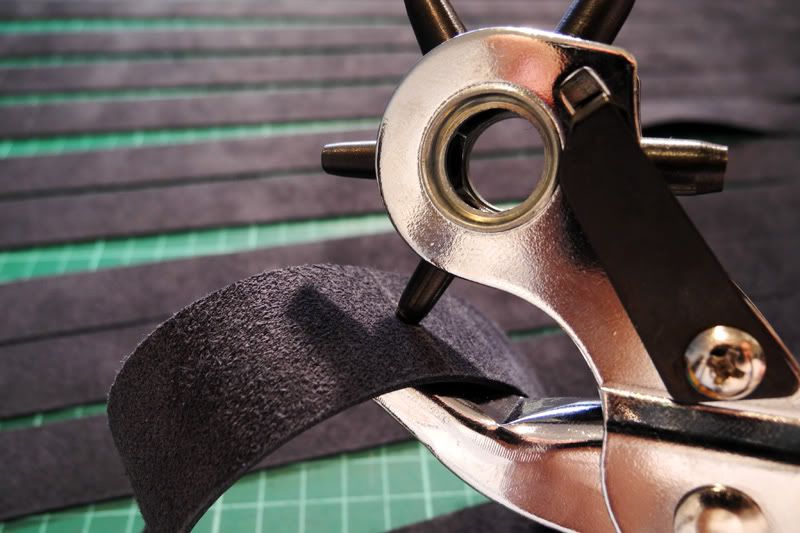
This is very important for punching the holes into the belt. In addition, you will also need holes were the buckles go, so this is something you definitely need for this project.
h) Office stapler
If you don't have a sewing machine or are lazy (like I am), you can use an office stapler for putting together the first, fake-leather based draft of the corset.
i) Chalk pencil or ceramic based fabric pencil
In order to put the final pattern onto the leather (backside!), you will need some sort of marker or fabric pencil. You can use the standard chalk that is sold quite frequently at sewing stores, but the line that you get with the normal chalk pencil is quite thick. It's actually too thick for my taste to be useful for this project, as I want my cutting to be precise.
The little red pen that you can see on the lower part of the picture is a Sewline fabric pencil with a ceramic-based lead, which gives you a 0.5 mm THIN line, which is absolutely fantastic for cutting the leather later on. Please note that it works if the leather has a velour-type backside. If the leather is very smooth, you may want to get yourself a silver-based pen that is normally used for leather works.
j) Tape
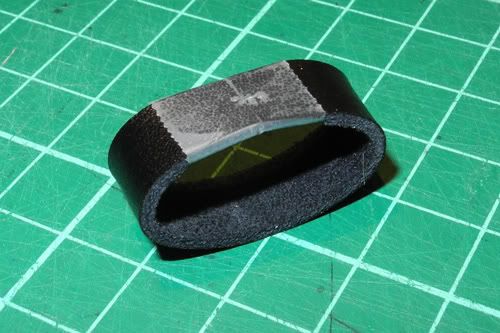
Required for holding the belt loops in place before stapling them. Will make more sense when I get to it in my description.
k) Cork block / professional tacker / universal pliers (leatherman tool)
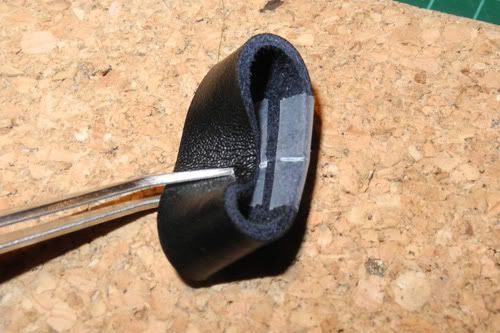
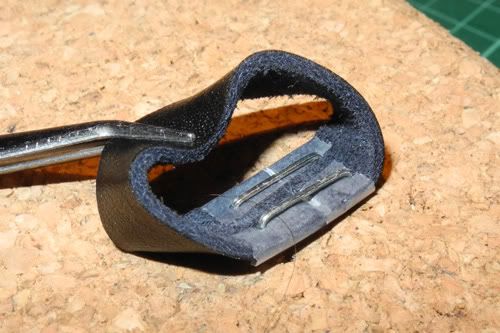
We will use a professional tacker (blue, center of picture) to put together the belt loops. As these are very small, we use a cork block as a support plate and bend the staples with a universal plier later on.
l) Leather / textile glue
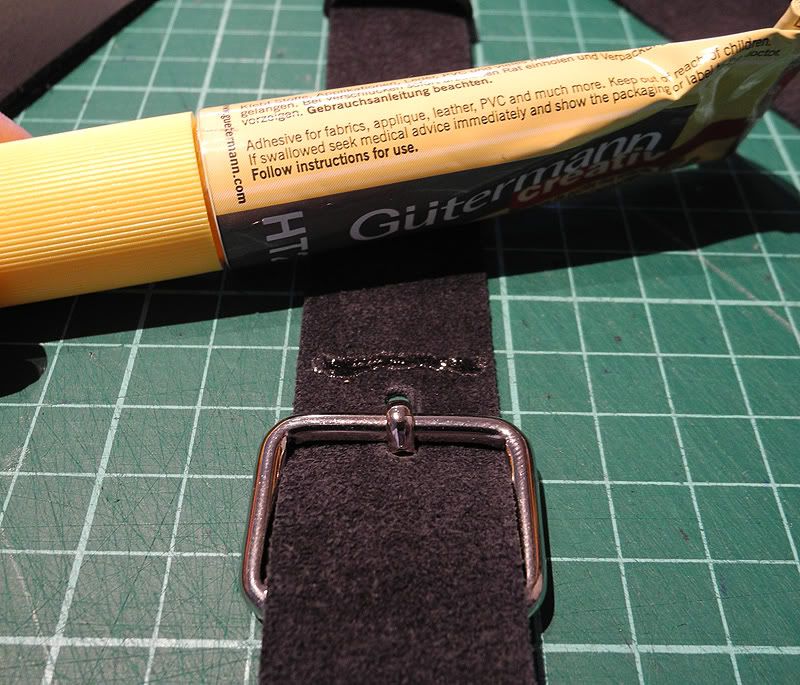
Before sewing (which can be done by your friendly cobbler), it makes sense to glue some parts together upfront (I will show you which). There are specialized leather glues on the market which will glue the leather in a couple of minutes. I use the German "Gütermann HT2" glue (yellow tube).
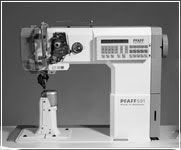
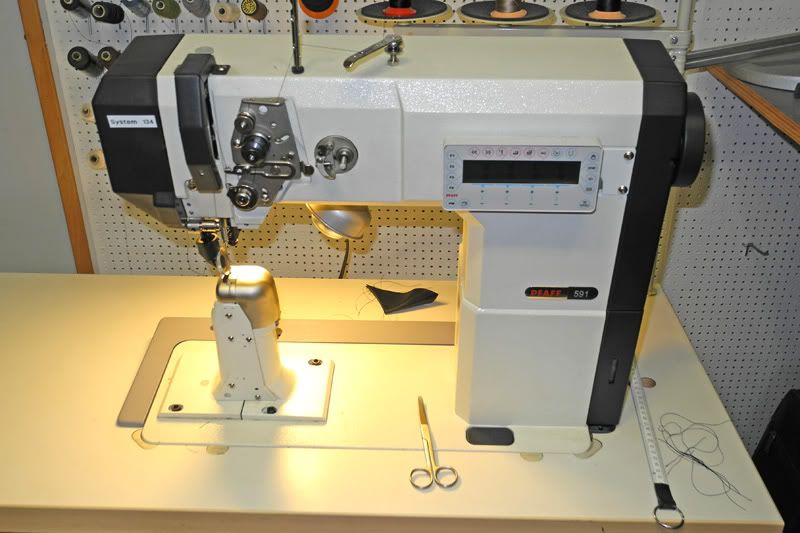
And finally, there is one thing you need, but won't have at home. Your cobbler will probably have something like this (or a similar) one:
m) Your cobbler: leather sewing machine (Pfaff 570 or similar)
I tried sewing a sample patch of the leather with my household sewing machine. Yes, it punches through the leather, and you will get a clean seam (yay!), but you can hear the whole mechanics being stressed. If my sewing machine could talk, it would probably ask me whether I want to kill it.
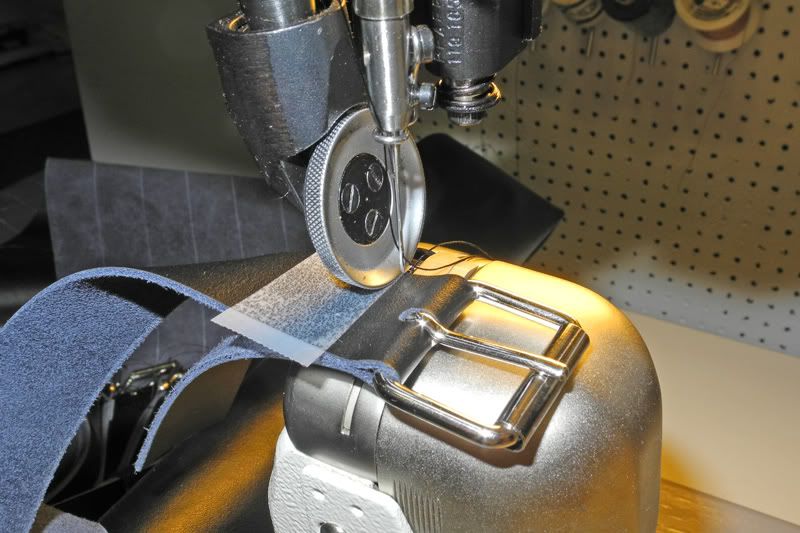
So... I went to my cobbler who happens to have a Pfaff 570 leather sewing machine. This has two advantages: It's powerful (punches through several layers of leather like butter), and it has a special foot that allows the seam to be much closer to the buckle than what I could do with my sewing machine.
I asked him whether he could do the seams for me, and he told me that I could come over, take a seat in front of his machine and do it by myself (yes, we are friends).
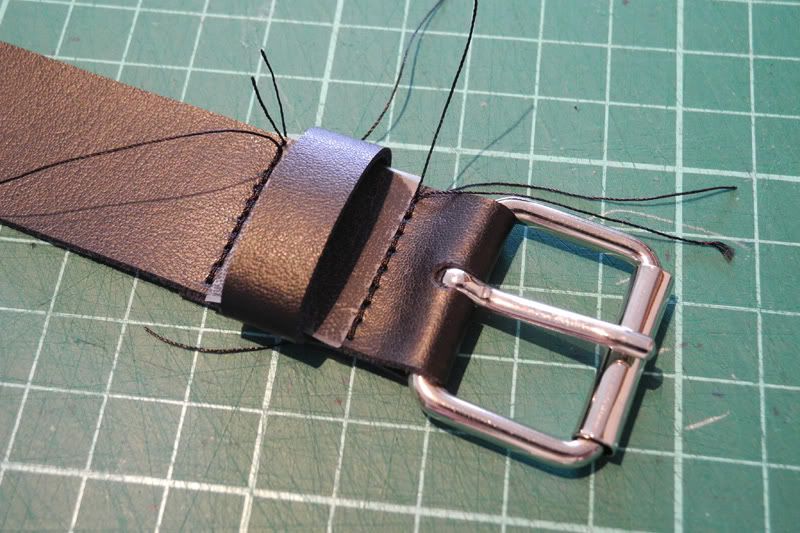
If you have a cobbler nearby, many cobblers also do repairs on leather belts and other leather goods. They should be able to do these seams for you for very little money, as there are only 28 seams (14 buckles + 14 belt loops) that need to be made.
Materials summary:
Before you go out and buy all of this stuff, read the complete guide first. You may find that you want to do things differently, so you don't require everything depictured here. I am just showing what I used to make the corset.
Yes, I am still working on my Gareth Pugh jacket (I just started vacation, so I have more time for some projects now), but that's not my only project

As I was browsing the net, I found Ann Demeulemeester's corset belt from a few seasons back in a blog. When looking at it, I thought that this isn't *that* complicated to make, so I ordered some material and gave it a try.
I am not finished yet, but I have progressed so far (and this is sooo easy) that I did not only want to share it with you, but provide step by step instructions on how to make this belt on your own. If you have a friendly cobbler nearby, you do NOT even need a sewing machine.

Here we go.
1. Ann Demeulemeester's corset belt
******************************
Ann Demeulemeester came up with a simple, yet quite interesting corset belt in her fall/winter 2009 collection:

Spreading it on a flat surface, the belt looked like this:

It's doesn't look that hard to make. It's basically some leather and buckles, cut in the right form and punched with a few holes.
It is not lined, the leather is not neatened at the cutting lines, it's very simple and basic. Yet this puristic style is what makes it interesting.
2. Materials required to make this corset
********************************

a) Fake leather (PVC, visible in white left upper corner)
I recommend to make a basic pattern of the corset first before cutting the (more expensive) leather, so you should get some cheap PVC-based fake-leather, non-stretchy. As fake leather is thicker than normal fabric, it gives you the best approximation of how the final product will feel (also important for taking measurements).
b) Real Leather (black, visible right upper corner)
The leather I ordered is split leather with a PU (polyurethane) coating, which makes it more shiny, just like the original. The thickness should be at least 1.3 mm (0.05 inches). Mine is around 1.5 mm thickness, but I think 2 mm would also be fine. 3 mm would probably be too thick. The surface of the leather is completely smooth, without any visible grain.
I ordered my leather online at a German leather store. If you are ordering online too, ask them to send you some small leather samples first, as leather is quite expensive.
I ordered the smallest size - a douple butt ("croupon"), which was 1.63 square meters (17.54 ft) and cost around 80 Euros (114 USD). The material actually required was 0.48 square meters (5.16 ft).
c) Roller buckles
Ann used black buckles on her corset, which I wasn't able to find (the only black ones I found in a store had already some rust on them, so I didn't want to use them).
You will probably be able to find nickle plated roller buckles more easily.

The size of the belt that goes through the buckle (dimension A) is about 1 inch (that's the original size of AnnD's belt - thanks to Pak who measured his belt and sent me the measurements). You can make the belt wider or smaller - up to you. Mine do have a 25 mm size A, which is 1 inch.
Depending on how tall the corset should be, you can decide how many belts your corset should have. AnnD's original has 14 belts, mine does have 15. Depending on how many belts you would like, you will need 14 or 15 buckles.
d) Ruler and measurement tape
A long metal ruler with an edge for cutting (lower edge of the picture) makes sense to be able to cut nice, straight lines. A tape ruler can be helpful for quick measurements but is not required.
e) Knifes / Leather cutters
The Swiss army knife on the picture is actually not used for cutting (as you will see later), and you cannot use it to cut the leather.
I recommend getting either a special leather knife (like the "ARU Messer"), which is a special leather knife with exchangeable blades, or using a simple cutter with snap-off blades. There are even better alternatives for cutting leather, but those specialized leather knives are quite expensive (> 40 USD). A simple cutter will suffice for this project, as long as the leather isn't too thick.
f) Optional: Scissors
A household scissor will do. If you don't want to cut the fake leather with a knife, a scissor might be helpful.
g) Hole punch
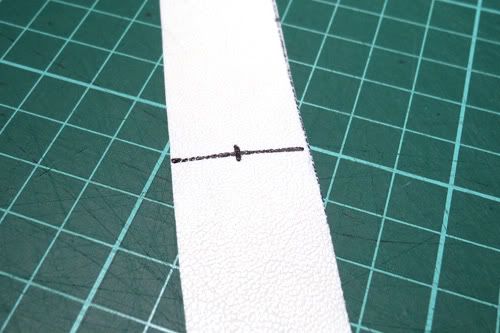
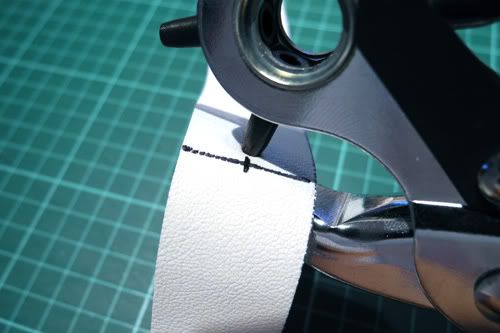
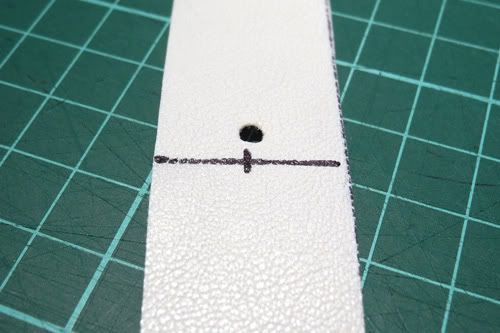
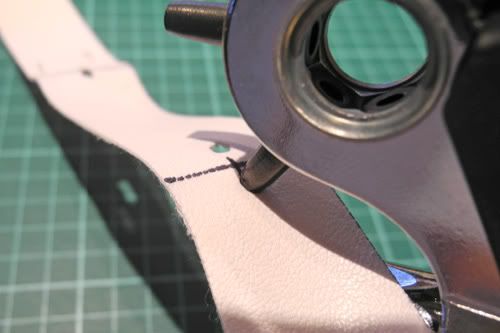
This is very important for punching the holes into the belt. In addition, you will also need holes were the buckles go, so this is something you definitely need for this project.
h) Office stapler
If you don't have a sewing machine or are lazy (like I am), you can use an office stapler for putting together the first, fake-leather based draft of the corset.
i) Chalk pencil or ceramic based fabric pencil
In order to put the final pattern onto the leather (backside!), you will need some sort of marker or fabric pencil. You can use the standard chalk that is sold quite frequently at sewing stores, but the line that you get with the normal chalk pencil is quite thick. It's actually too thick for my taste to be useful for this project, as I want my cutting to be precise.
The little red pen that you can see on the lower part of the picture is a Sewline fabric pencil with a ceramic-based lead, which gives you a 0.5 mm THIN line, which is absolutely fantastic for cutting the leather later on. Please note that it works if the leather has a velour-type backside. If the leather is very smooth, you may want to get yourself a silver-based pen that is normally used for leather works.
j) Tape
Required for holding the belt loops in place before stapling them. Will make more sense when I get to it in my description.
k) Cork block / professional tacker / universal pliers (leatherman tool)
We will use a professional tacker (blue, center of picture) to put together the belt loops. As these are very small, we use a cork block as a support plate and bend the staples with a universal plier later on.
l) Leather / textile glue
Before sewing (which can be done by your friendly cobbler), it makes sense to glue some parts together upfront (I will show you which). There are specialized leather glues on the market which will glue the leather in a couple of minutes. I use the German "Gütermann HT2" glue (yellow tube).
And finally, there is one thing you need, but won't have at home. Your cobbler will probably have something like this (or a similar) one:
m) Your cobbler: leather sewing machine (Pfaff 570 or similar)

I tried sewing a sample patch of the leather with my household sewing machine. Yes, it punches through the leather, and you will get a clean seam (yay!), but you can hear the whole mechanics being stressed. If my sewing machine could talk, it would probably ask me whether I want to kill it.
So... I went to my cobbler who happens to have a Pfaff 570 leather sewing machine. This has two advantages: It's powerful (punches through several layers of leather like butter), and it has a special foot that allows the seam to be much closer to the buckle than what I could do with my sewing machine.
I asked him whether he could do the seams for me, and he told me that I could come over, take a seat in front of his machine and do it by myself (yes, we are friends).
If you have a cobbler nearby, many cobblers also do repairs on leather belts and other leather goods. They should be able to do these seams for you for very little money, as there are only 28 seams (14 buckles + 14 belt loops) that need to be made.
Materials summary:
Before you go out and buy all of this stuff, read the complete guide first. You may find that you want to do things differently, so you don't require everything depictured here. I am just showing what I used to make the corset.




Comment